
Can I build a ship from scratch in Ostranauts?
No — there is no hull crafting. You expand salvaged or purchased hulls by placing wall, floor, and module tiles you physically own in the Ship Editor.
Ostranauts ship building guide for 1.0: grid tiles, Ryokka/Testudo hulls, wiring, airlocks, pressurized rooms, mass vs thrust, and salvaged floor panel fixes.

Klawc Gaming walks through Ostranauts Ship Editor basics — grid tiles, hull patching, module placement, and expanding a salvaged frame in 1.0.
~14 min read
Sponsored
Ostranauts ship building is not a creative sandbox — you expand salvaged hulls on a grid tile system, patch Ryokka, Testudo, and Caylon walls, route conduits through ceilings, and keep at least one pressurized space alive while you work. The Ship Editor 1.0 (August 2026 release) lets you import old saves and add modules without flying to a station first. This guide covers hull brands, airlocks, rooms, mass vs thrust, wiring, and the infamous cannot install salvaged floor panel issue. Verified August 16, 2026 · Steam · Official wiki — Ship Building.
| Fact | Detail |
|---|---|
| Editor | Ship Editor 1.0 — import legacy ships, edit in dock or flight |
| Grid layers | Subfloor · floor · upper/lower space · ceiling (conduit layer) |
| Hull brands | Ryokka (heavy/durable) · Testudo (cheap/colored) · Caylon (mid-tier) |
| Must-have seal | At least one pressurized compartment with airlock |
| Power routing | Conduits in ceiling layer → breaker panels → modules |
| Mass trade-off | Floor tiles under walls add HP but increase ship mass |
| Known bug | Salvaged floor panels often fail install — buy new or patch hull only |
| Related | Reactor · Life support · Salvage |
Every Ostranauts hull is a tile grid. Each coordinate holds multiple vertical layers — not one flat square. Think of a column: subfloor (mechanical/plumbing), floor (walkable surface), upper and lower space (where you stand and where modules mount), and ceiling (where power conduits run). Walls occupy edge tiles; floors fill interior tiles beneath you.
When you open the Ship Editor, the overlay shows which layer you are editing. Cutting a wall tile without a floor beneath it can open the hull to vacuum. Installing a module usually consumes floor or wall space and may require a conduit path in the ceiling layer above.
| Layer | What lives here |
|---|---|
| Subfloor | Pipes, low-mount plumbing, some tank connections |
| Floor | Walkable tiles, floor panels, micrometeor shielding under walls |
| Upper / lower space | Character movement, multi-tile modules, furniture |
| Ceiling | Electrical conduits, lighting, duct routing |
| Wall (edge tile) | Pressurized boundary — brand determines HP and mass |
Unlike some builders, Ostranauts lets Ryokka walls meet Testudo floors — the grid merges cleanly. Stats do not average; each tile keeps its brand values. That freedom helps when you salvage mixed derelicts, but it also hides weak links — a thin Testudo wall beside a Ryokka bulkhead fails first under impact.
Reactors, nav consoles, and airlocks span several tiles. The editor ghost-preview shows footprint before you commit. If one tile is blocked by a conduit bend or a partial wall, the whole module refuses placement — check all four corners, not just the anchor tile.
Plumbing and gas lines prefer subfloor runs; electricity prefers ceiling conduits. Crossing layers costs time in the editor but prevents you from ripping out a scrubber feed when you add a breaker branch. Plan one spine corridor for power and one for life support before you decorate crew quarters.
Hull tiles are branded goods — same grid size, different mass, hit points, and price. The three names you see most in early salvage are Ryokka, Testudo, and Caylon. Ryokka is the industrial tank: heavy, expensive, survives micrometeors and clumsy crowbar work. Testudo is the budget line — multiple color series (Breakout Turf, Spring Series, Aero-Series) that trade durability for cash and style. Caylon sits between them on many stations' cargo lists.
| Brand | Typical role | Trade-off |
|---|---|---|
| Ryokka | Outer bulkheads, towing braces, high-value flips | Highest mass per tile — needs stronger RCS |
| Testudo | Interior partitions, quick patch jobs, colored hab decks | Lower HP — cheap to replace, fails first under stress |
| Caylon | General-purpose walls on mid-tier haulers | Balanced stats — good when Ryokka mass breaks your delta-v budget |
| Langdon-Phillips / Minsheng / MSS | Salvage-only variants — match when patching derelicts | Mixed brands on one ship is normal; do not rip working walls for color |
If you plan to tow wrecks or sit in the boneyard for multi-day strips, Ryokka outer skin pays for itself. A Ryokka T7N Towing Brace is a named high-value salvage for a reason — the brand signals structural intent. Pair Ryokka externals with Testudo internals to keep RCS responsive.
Testudo tiles appear constantly in OKLG scrap. Use them for crew quarters and workshop walls where combat and debris strikes are unlikely. The colored series helps you visually separate pressurized zones in the editor without reading the atmosphere overlay every time.
Once you are flipping hulls for profit, Caylon is the sensible upgrade path: better HP than Testudo without Ryokka's mass penalty. Cargo kiosks stocking Furniture or Electronics often carry Caylon wall boxes alongside tools — grab a stack before a long editor session.
A ship does not need every tile pressurized — the game allows open-frame sections — but you need at least one sealed compartment with air you can breathe while sleeping or cooking. Pressurized walls form the boundary; floor panels close the bottom of the volume and add effective HP when installed under walls; airlock doors are the controlled bridge between vacuum and hab.
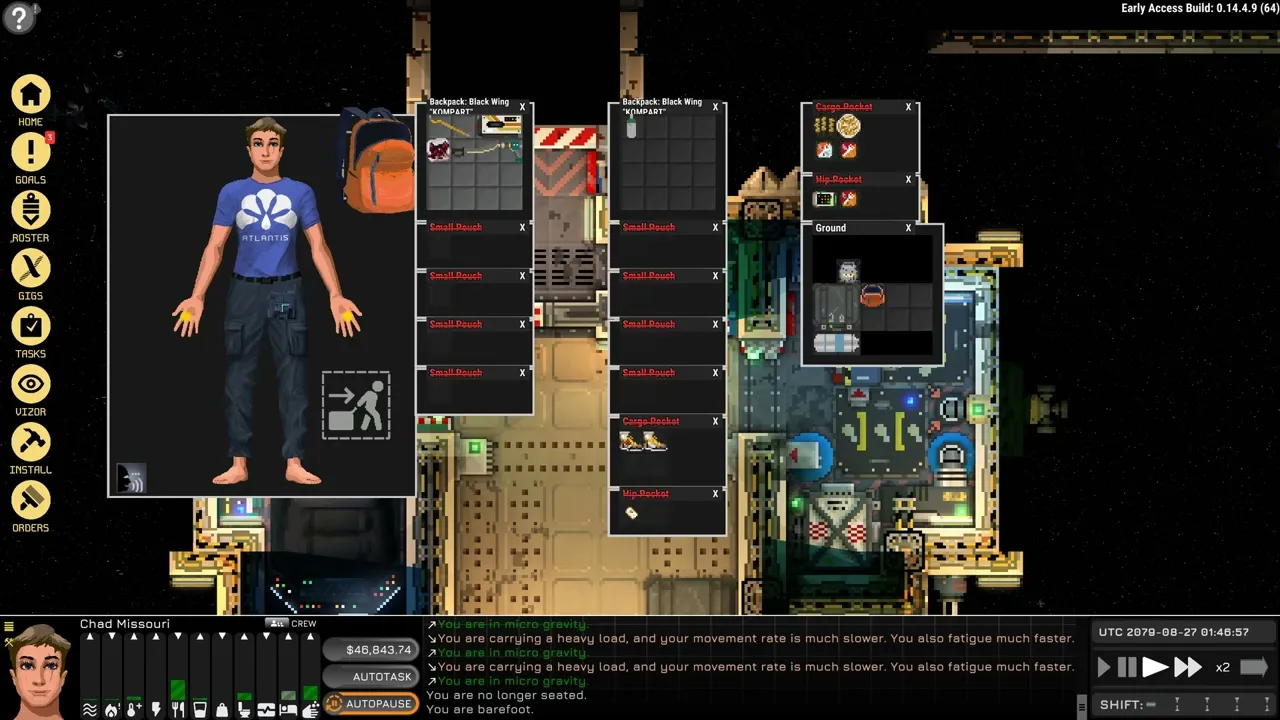
Each wall tile tracks damage independently. A single cracked tile vents the room — the atmosphere sim does not forgive "mostly sealed." After salvage, run DmgViz on your PDA or walk the inner perimeter listening for hiss audio cues. Replace ruined walls before you add pretty floor colors.
The official wiki notes that floors installed under walls increase effective HP and block micrometeor punctures. That is real protection, not cosmetic — but every panel adds mass. On a small tug, armor the exterior ring and leave the inner hab with bare structural floor until you can afford thrust upgrades.
Standard airlock doors hold pressure when closed but take time to cycle. EVA crew should enter the lock, close the outer door, equalize, then open inner — skipping steps sprays hab air into space and tanks moodlets for anyone nearby. See the crew guide for trait and moodlet interactions.
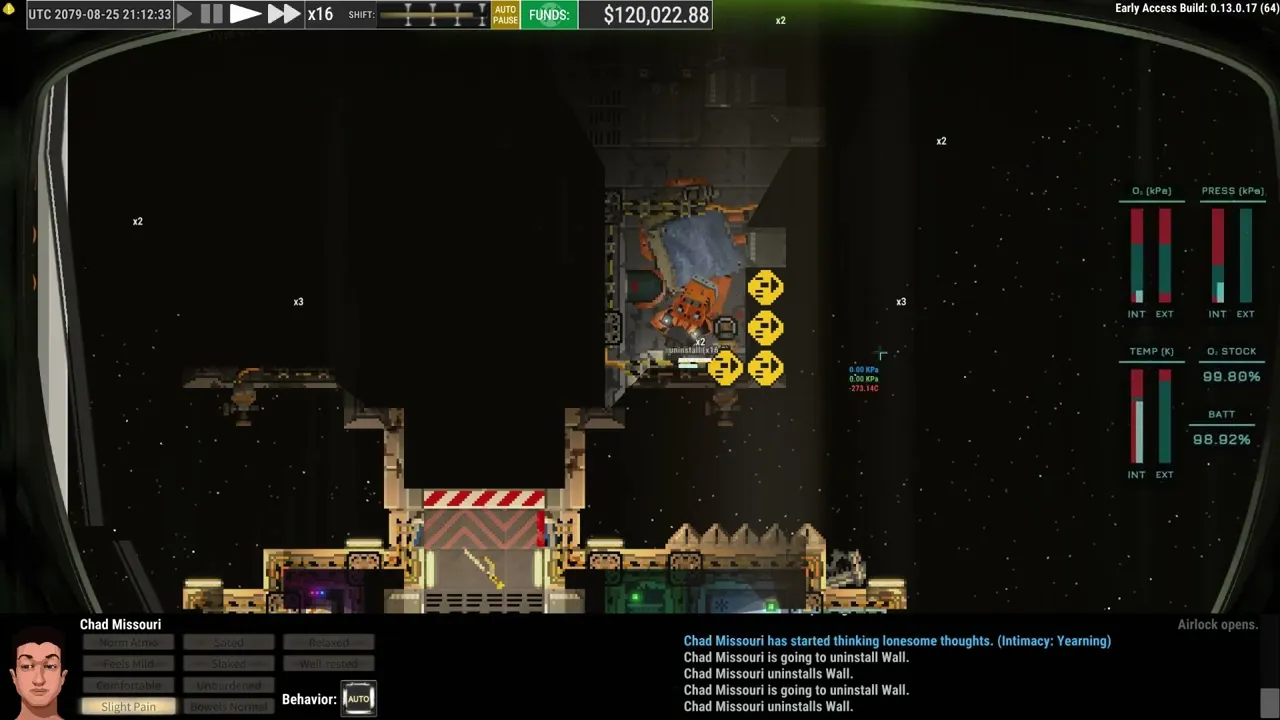
Power runs through conduits in the ceiling layer. Modules expose power ports — red arrows on the wiki diagrams show input vs output. You connect conduit segments tile-by-tile until a breaker panel or battery bank joins the network. The reactor guide covers fusion output; this section covers the hull-side plumbing of electrons.
| Component | Role |
|---|---|
| Conduit tile | Ceiling-layer wire — bridges modules across rooms |
| Breaker panel | Branch control — isolate life support from workshop loads |
| Battery bank | Buffer for startup spikes and brownout prevention |
| Fuse / logic gates | Conditional power — doors, safeties, automated sequences |
| PwrViz cartridge | PDA overlay — live kWh draw per tile (invaluable while building) |
Run a main conduit trunk along your hab ceiling spine — reactor or battery to a central breaker — then branch to scrubbers, heaters, nav, and doors. Avoid a single door tile carrying the only path between hab and engine room; closing that door should not brown out CO2 removal.
Conduits cannot pass through a closed door unless you route around the frame or use floor-level workarounds on specific modules. When the editor refuses a connection, zoom to ceiling layer and check whether a wall segment blocks the ceiling grid.
Every ship module lists Power Draw (kWh). Sum the branch before you bolt on a second welder or extra lights. If total draw exceeds battery charge rate, life support drops first when the reactor hiccups — exactly when you cannot afford it.
Matched by build plan, shared topics, and guide progression — not random related links.
Ostranauts tracks rooms — enclosed volumes with labels like bridge, crew quarters, engineering. They matter for ship valuation when you sell or insure a hull, and some room types list equipment expectations for NPC inspectors. Critical detail from the wiki: modules do not stop working if you put them in the "wrong" room, and NPC crew ignore room labels for task selection.
When you flip ships at the Ship Broker, room completeness affects offer price. A labeled crew quarters with bunks and a door reads better than an unnamed tile blob. Think of rooms as paperwork for capitalism, not physics.
For a solo salvager upgrading to a two-crew tug: bridge (nav + transponder), engineering (breaker + batteries), life support closet (scrubber + O2 tank), crew quarters (bunk + privacy), airlock vestibule. You can merge engineering and life support on small hulls — just keep the labels for resale.
The game auto-detects rooms when walls form closed loops. An missing wall tile splits one room into two unlabeled volumes — fix the wall before you wonder why the broker undervalues your "quarters." Doors count as boundaries but airlocks can belong to two zones depending on door state; seal habits matter more than labels during EVA.
Flight uses Newtonian physics: ship mass vs thruster output. RCS thrusters (cold gas, often N2 through an intake regulator) handle station keeping and docking. Main engines — fusion torch or chemical — handle long burns. Every wall, floor panel, battery, and crate of D2O you bolt on changes the ratio.
| Added mass from | Effect |
|---|---|
| Ryokka outer ring + floor armor | Safer hab, slower RCS response — upgrade thrusters or lighten internals |
| Extra cargo floor tiles | Quick storage but hidden mass penalty — strip before long burns |
| Fusion reactor assembly | High kWh, heavy — plan placement near center of mass when possible |
| Crew + gear | Live mass — recruits on [crew guide|${ROUTES.crewGuide}] shift schedules affect who is aboard |
| Salvage in hold | Unsecured loot shifts center of mass — strap or sell at [Scrap kiosk|${ROUTES.salvageGuide}] |
1) Set target thrust with known RCS assemblies → 2) Budget hull mass (Ryokka externals only where needed) → 3) Add life support draw → 4) Only then expand hab volume. Reversing the order produces beautiful ships that cannot dock without scraping paint off OKLG.
The Ship Editor 1.0 shipped with the August 2026 release. You can enter it docked at stations or in flight (with risks), import ships from legacy saves, and place tiles/modules without a separate crafting bench. There is no hull crafting — every tile is a physical item in cargo or cut from a derelict.
From the ship view, switch to edit mode (context action on the hull). The grid overlay appears; use layer toggles for floor vs ceiling vs walls. Items in your ship inventory or linked cargo pods appear in the build palette — you must physically possess tiles before placement.
1.0 patch notes highlight import old save ships — useful if you played Early Access and want your test hull in the new economy. After import, re-check pressurization and transponder registration; imported layouts may predate current breaker logic.
Editor placement is precise; EVA stripping is messy. Cut modules in the boneyard, haul boxes through your airlock, then install in editor at OKLG. Trying to weld tiles in vacuum without a pressurized workspace triggers the same suffocation rules as a hab breach.
Pressurization is a state, not a module. A room becomes pressurized when walls, floors, and doors hold gas above vacuum threshold and you introduce atmosphere (scrubber, tank, or carried canister). Build order matters — seal first, equipment second, crew third.
Expand hab one compartment at a time. Leave a pressure door between old hab and construction zone so a mistake does not vent the whole ship. Many captains keep a life support closet isolated behind its own door — if the galley breach happens, the scrubber keeps running.
Toggle atmosphere debug on the nav or PDA when testing. Green hab, red vacuum, yellow leaking — fix yellow before adding crew. Life support guide covers scrubber sizing; ship building only provides the box.
One of the most searched Ostranauts bugs: "cannot install floor panel on ship" and "cannot install salvaged floor panel." Players strip floor tiles from derelicts, haul them home, and the editor refuses placement. Community reports and keyword data show this blocking legitimate salvage loops.
Salvaged floor panels often arrive with hidden damage state or incompatible subfloor flags even when the icon looks pristine. The editor checks install rules strictly — recycled panels fail where freshly bought Testudo or Caylon floor boxes succeed on the same tile.
1) Buy new floor tiles from cargo kiosks (Furniture / Tools categories) when you need guaranteed installs. 2) Patch walls first and skip floor armor until you have new stock. 3) Sell salvaged panels at Scrap kiosk — convert bad tiles to cash instead of fighting the editor. 4) Check patch notes / Steam discussions for post-1.0 fixes if Blue Bottle adjusts salvage condition rules.
On derelicts, prioritize modules (pumps, RCS, nav) over floor cosmetics — see salvage guide strip order. If you do cut floors, test-install one tile in editor before hauling twenty panels through EVA.
Scan this list before you undock from a long editor session.
| Mistake | Fix |
|---|---|
| Cut exterior wall before inner brace | Work inward — temp seal with new wall tile before removing old |
| Single airlock for cargo + crew | Dedicated EVA lock — cargo bay breaches should not vent bunks |
| All breakers on one branch | Split life support from workshop welders |
| Ryokka everything on a loan tug | Testudo interior + Ryokka skin only — check RCS feel |
| Salvaged floors in critical path | Buy new panels for hab ring — sell salvaged stacks |
| Unlabeled rooms before flip | Tag bridge and quarters — broker pays more |
| Pressurize before scrubber online | CO2 spikes panic crew — equipment first |
| Conduit through only door path | Redundant ceiling route over door frame |
No — there is no hull crafting. You expand salvaged or purchased hulls by placing wall, floor, and module tiles you physically own in the Ship Editor.
Ryokka for outer armor and towing builds, Testudo for cheap interior partitions, Caylon for mid-tier balance. Mixed-brand ships are normal.
Salvaged panels often carry damage or compatibility flags that block install. Buy new floor tiles from cargo kiosks or patch walls without floor armor until you have fresh stock.
No — modules work in any labeled volume. Rooms mainly affect ship valuation and broker offers.
Limit Ryokka and floor armor to exteriors, strip hold cargo before burns, and upgrade RCS intakes/thrusters before expanding hab volume.
Ceiling-layer conduits connect modules to breaker panels and batteries. Use PwrViz on your PDA to verify draw while building.
Yes — the in-game Ship Editor places wall, floor, and module tiles you already own. There is no from-scratch hull craft; expand a purchased or salvaged frame.
Matched by build plan, shared topics, and guide progression — not random related links.