
Why is my ship overheating?
Usually reactor load vs cooler capacity, or waste heat bleeding into hab decks — see reactor guide and the heat section above.
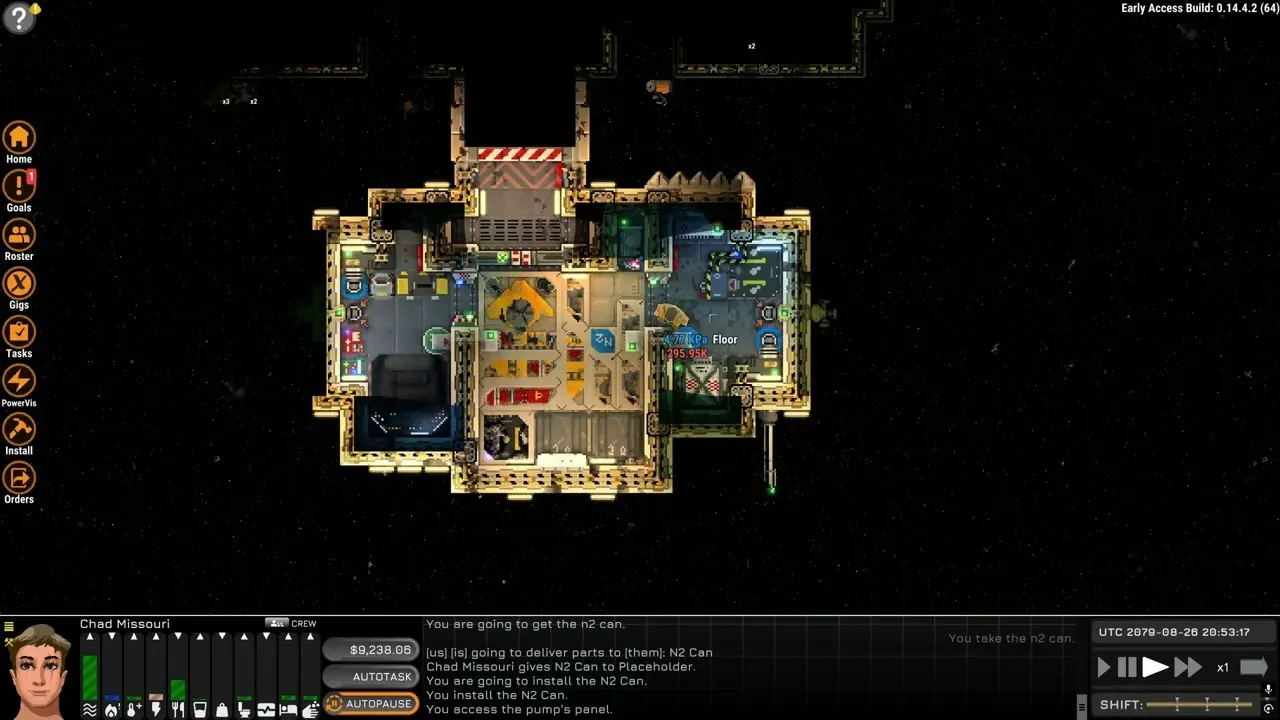
Ostranauts life support guide: O2 and CO2 targets, scrubbers, air pumps, the 19.02 kPa bug, hull leaks, EVA refill, heat after fires, and sleep comfort.
MO Chad's life support episode — scrubbers, pumps, canisters, and keeping a pressurized hab breathable in Ostranauts.
~12 min read
Sponsored
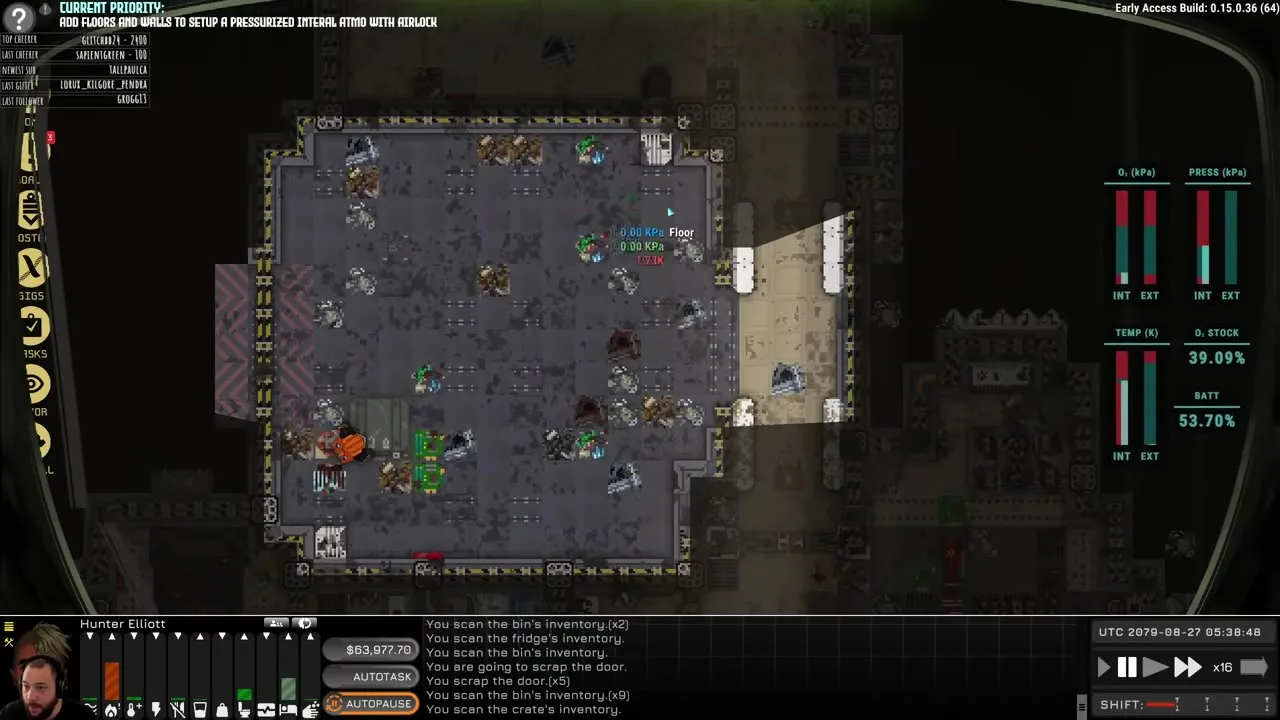
Ostranauts treats atmosphere as physics, not a green bar. Heat, oxygen, CO2, and pressure all interact in every pressurized tile — and a brownout on the reactor guide path kills scrubbers faster than a hull breach kills pressure. This Ostranauts life support guide covers O2/CO2 targets, scrubbers and pumps, the infamous 19.02 kPa ceiling, post-fire heat, EVA bottle refill, and thermal comfort for sleep. Verified August 16, 2026 · Steam · Official wiki — Managing Atmosphere.
| Gas / stat | Target | What breaks first |
|---|---|---|
| O2 (oxygen) | ~20 kPa | Hypoxia below safe band — alarm trips <20 kPa |
| CO2 | ≤0.5 kPa | Hypercapnia — CO2 climbs fast without scrubbers (~8 kPa/tile/hr per wiki) |
| N2 (nitrogen) | ~80 kPa (optional) | Low N2 still breathable if O2 is correct |
| Total pressure | ~100 kPa | Decompression if hull leaks or airlock vents wrong |
| Temperature | Crew thermal comfort green | Heaters/coolers + hull insulation vs reactor waste heat |
| EVA suit O2 | Monitor PDA vitals | Suit bottle empty = death outside the hab |
Breathable air in Ostranauts is a mix of partial pressures, not a single "oxygen %" slider. Humans need roughly 20 kPa O2 in a ~100 kPa total atmosphere. CO2 is the gas you generate constantly — wiki scales it at roughly 8 kPa per tile per hour in a sealed room if nothing scrubs it — and it becomes toxic well before O2 runs out.
| Reading | Healthy band | Symptom if wrong |
|---|---|---|
| O2 partial pressure | ≥20 kPa | Hypoxia, O2 alarm, gasping moodlets |
| CO2 partial pressure | ≤0.5 kPa | Headache, fatigue, eventual CO2 poisoning |
| Total pressure | ~100 kPa | Ear pain, decompression injury if sudden drop |
| Temperature | Thermal comfort green | Hypothermia / heat stress on vitals panel |
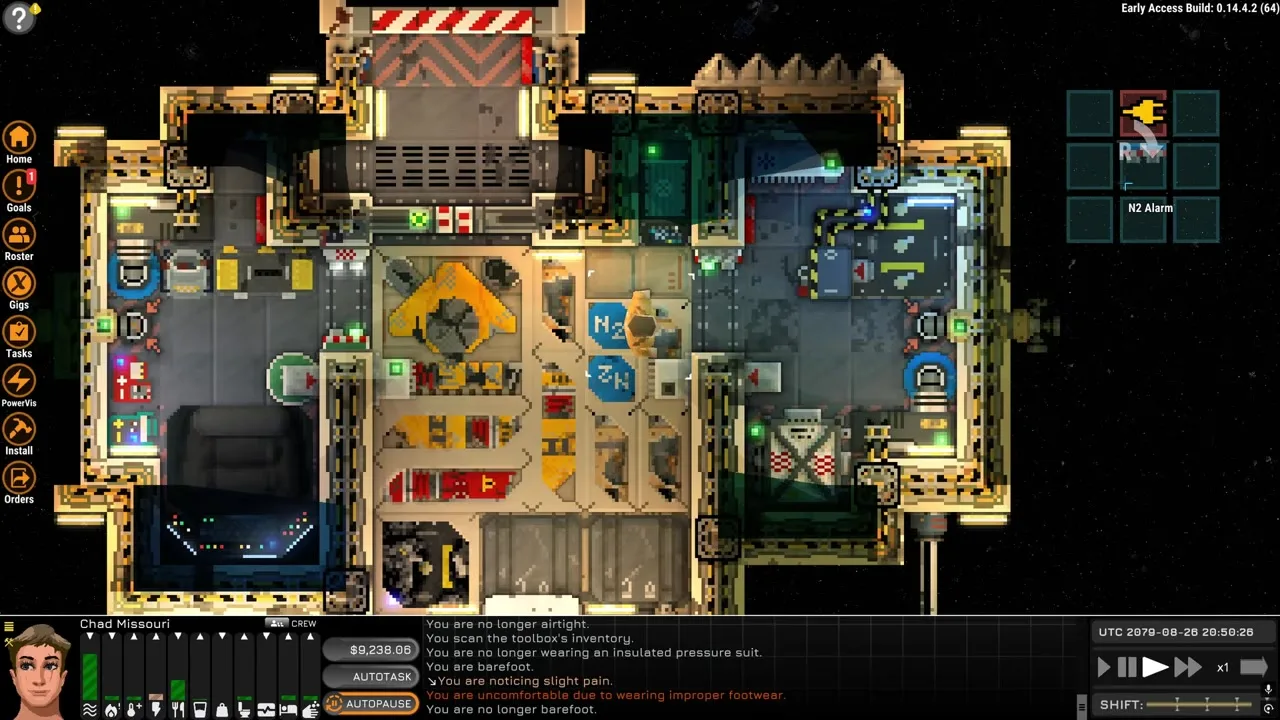
Open the PDA atmosphere overlay or click a room tile and inspect gas breakdown. The O2 alarm triggers at <20 kPa even though its tooltip mentions 16 kPa — treat 20 kPa as your engineering setpoint so auto pumps stop buzzing.
N2 is optional for survival (hyperoxia is not fully modeled) but filling to ~80 kPa N2 plus ~20 kPa O2 gives stable total pressure and buffers CO2 swings.
You exhale CO2 into a closed room. Without a CO2 scrubber and empty outflow canister, CO2 climbs while O2 canisters still read full. Crew complain, sleep quality tanks, then capnia thresholds hit. Scrubbers need power, a cartridge, and somewhere for CO2 to go — usually a gas canister on the scrubber outflow tile.
The minimum life-support stack on a pressurized hab is: O2 canister + air pump + O2 pressure alarm, plus CO2 scrubber + CO2 pressure alarm + outflow canister. Powered wall vents connect adjacent pressurized rooms so one scrubber deck can serve a small hull.
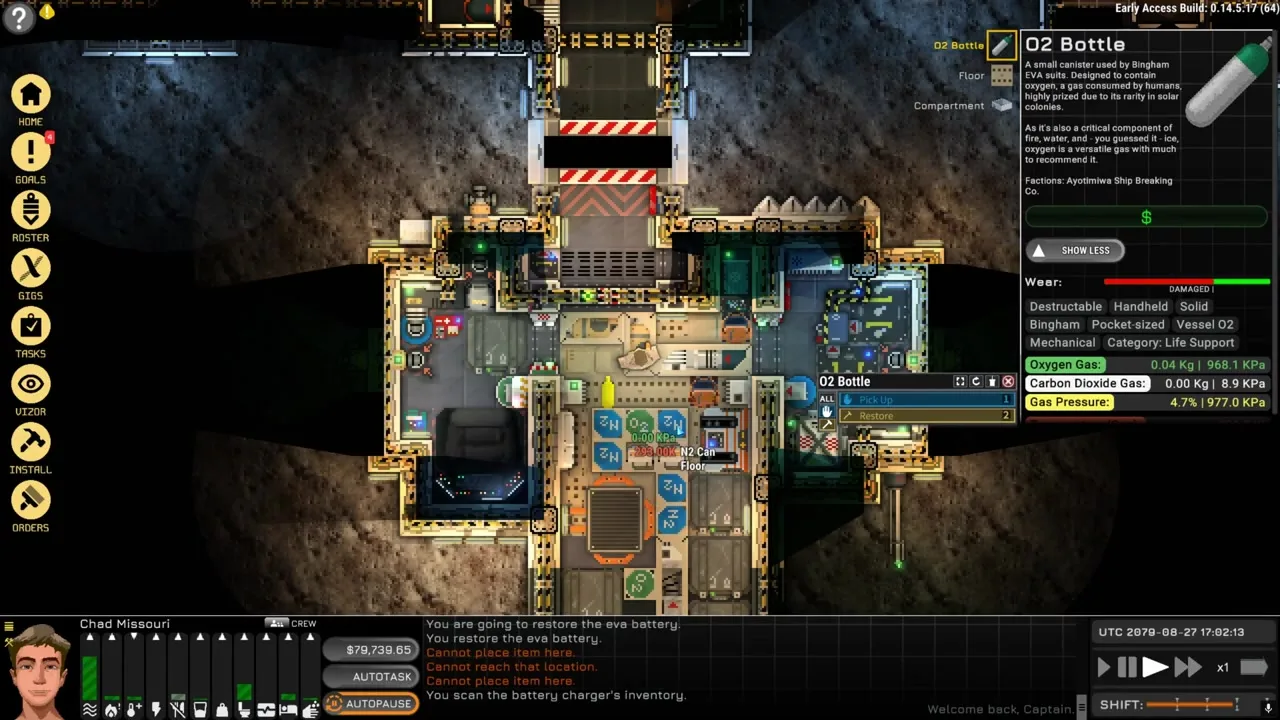
Standard CO2 scrubbers pull carbon dioxide into a canister. The Contaminant AtmoScrubber (controlled by a Contaminants Pressure Alarm) handles hazardous trace gases if your salvage haul vented something nasty. Most starter tugs only need CO2 gear until you pressurize exotic cargo.
When an alarm enters alert state, linked pumps turn on; when O2 returns to safe (≥20 kPa), pumps stop. Click the pump, open its control panel, use the link tool on the terminal screw, then click the matching alarm — no confirmation UI, but the squiggly wire cursor means you are linking correctly.
Ships that vent atmosphere after every EVA (no proper airlock recovery) or run vacuum habitation short-term can skip scrubbers temporarily — but any multi-day hab with crew needs CO2 control. Pair this section with the reactor guide so scrubber breakers survive startup spikes.
Both the Kang UT Series Air Pump and the Sokol T Series Turbo Air Pump move gas between rooms and canisters. The turbo model adds a Turbo mode on its panel for higher flow — useful for large freighters or emergency depressurization, dangerous for small bottles.
| Mode / model | Use case | Caution |
|---|---|---|
| Standard air pump | Starter tugs, single hab room | Slow mode for EVA bottle fill |
| Turbo air pump | Big hulls, fast pressurization | Turbo + full O2 canister can overfill small rooms |
| Slow mode | EVA O2 bottle refill | Prevents bottle overpressure explosions |
| Reverse mode | Vent airlock, recharge canister | Never leave reverse pumps feeding into space |
| Auto + alarm link | Daily hab maintenance | Pump and sensor must share one sealed compartment |
At equal settings, a turbo pump without turbo enabled behaves like a normal pump. Turn Turbo on when you need to vacuum a compartment for hull surgery (community timings: medium hull ~15 in-game minutes from ~45 kPa to ~3 kPa) or rush-pressurize after repairs. Leave turbo off on everyday O2/N2 maintenance pumps.
Advanced layout: one O2 canister + O2 pump + O2 alarm and one N2 canister + N2 pump + N2 alarm, both set to Auto. Total pressure lands around 40–100 kPa depending on targets, with breathable O2 partial pressure — many captains run ~5–8 "units" O2 display (~50 kPa equivalent) plus N2 fill.
A classic leak: turbo pump in the airlock set to recover air but wired outlet to space. You vent the entire hab every cycle. Recovery pumps should draw from the airlock and push into the ship, or capture airlock gas into a spare canister if you want emergency RCS feedstock.
Thermal comfort on the crew vitals panel tracks whether the room temperature matches clothing and activity. Heaters and coolers are powered loads — often routed on the same breaker branch as scrubbers — while hull exposure and sun angle passively heat or cool tiles.
| Heat source | Typical fix | Related guide |
|---|---|---|
| Fusion reactor core | Vents, coolers, isolate hab decks | Reactor |
| Electronics / lights | Move loads, add cooler capacity | PwrViz cartridge on PDA |
| Sun-exposed hull tiles | Shade tiles, active coolers | Dock orientation / external heat soak |
| Cold vacuum exposure | Heaters, insulated walls | Ship building |
| Fire / combat damage | Vent heat, repair, replace tiles | See post-fire section below |
One heater per hab compartment often suffices on a loan tug; add a cooler when you install a Sulaiman ICFR or stack powered fabricators. Wire heaters/coolers through a Thermostat (not a bare temperature sensor alone) if you want hands-off comfort — same automation layer as O2 alarms for pumps.
Check whether heat inflow exceeds removal — reactor rooms dumping waste heat into adjacent tiles, unvented machinery bays, or a cooler breaker tripped offline. Coolers only sink heat to space through valid vent paths; a cooler in a sealed closet with no exhaust routing just moves the problem.
Brownouts turn off coolers first if you share breakers with optional loads. Keep life support and climate on a protected branch that stays up during reactor laser-cap charges — the same lesson as scrubbers in the reactor guide.
Fires inject enormous thermal energy into tile atmospheres. Even after flames stop, heat dissipates slowly because mass and surface area matter — a hot pressurized room holds joules in gas and walls long after the visual fire ends.
Vent hot gas if crew are suited or the room is disposable: manual pump Reverse into canisters, or open an exterior vent if your layout has one. Replace damaged tiles — charred walls leak heat and atmosphere. Run coolers at full draw once power is stable.
Large hab volumes, multiple crew bodies, and running reactors all add heat faster than passive radiation removes it. Split the ship: isolate the burned compartment with powered doors, cool the hab deck separately, and do not restart fusion until core temp and room sensors trend down.
Electrical faults, overloaded conduits, and welding in a pressurized O2-rich room are common igniters. Depressurize before cutting torches, keep fire suppression tools in the workshop, and review DmgViz after every salvage boarding where stray bullets flew.
The "can't get O2 above 19.02 kPa" search is almost always a room subdivision bug, not an empty canister. When the ship editor adds or removes walls, the engine recalculates compartments and can split one 20 kPa room into two ~19.98 kPa rooms — tripping O2 alarms while auto pumps refuse to climb.
| Symptom | Likely cause | Fix |
|---|---|---|
| O2 stuck at 19.0x kPa | Room split after editor change | Manual pump ON to overfill, or save/reload ship |
| Auto pump stops early | Pump and O2 alarm in different rooms | Move sensor or pump output to same compartment |
| O2 low but canister full | Pump installed backward | Swap canister side; disable Reverse |
| Pressure ok, O2 low | CO2 displacing mix | Scrubber cartridge + empty outflow canister |
| Alarms with "fine" air | Pump and O2 alarm in different rooms | Move sensor or pump output to same compartment |
Developer-confirmed fix: manually turn the O2 pump ON from its control panel until rooms sit above 20 kPa, then let auto mode hold. Alternately, save and reload — the editor auto-fills closed rooms to 20 kPa on load.
Floors are not required under every exterior wall for airtightness — wiki *Managing Atmosphere* notes floors under walls mainly add HP / micrometeor protection. You do need floor under doors, and a continuous pressurized room shell. Phantom leaks usually mean a missing door floor, open airlock, or hull hole — not "wall without underfloor."
The O2 alarm must sit in the same room as the pump output. Big ships need two pump + sensor pairs on opposite hab wings — otherwise one end sits at 25 kPa while the other hovers at 19 kPa and never stops beeping.
Hull leaks from micrometeors, salvage damage, or missing tiles vent atmosphere into vacuum. Pressure drops exponentially through small holes — crew without helmets take decompression injuries; loose items get sucked toward breaches.
Watch total pressure trend on the PDA, listen for hissing, and use DmgViz to highlight cracked tiles. EVA outside and visually trace dark hull damage. Interior frost or fog sometimes marks rapid expansion zones.
Welding plates or swapping floor/wall tiles requires planning: isolate the compartment, optionally vent to safe pressure, or suit up. Carrying spare tiles from salvage beats dying mid-patch when the room hits vacuum.
Powered doors fail open or closed on brownouts — another reason life support and doors share critical breaker design. Before cutting a wall, check the Atmo tab on adjacent rooms; one wrong cut vents the bunk deck.
EVA suits use small O2 bottles separate from ship canisters. Refilling connects a bottle to an air pump output with the pump in Slow mode — turbo fills can overpressurize bottles until they explode, damaging tiles and crew.
OKLG vendors sell O2 and spare bottles if your hab stack is not built yet. Long-term, run a dedicated slow pump labeled for suit service so nobody turbo-fills during panic prep.
Every salvage minute burns suit O2. Refill before undock, carry a spare bottle in suit storage, and abort at ~50% remaining — the salvage guide's EVA abort rule pairs directly with this refill loop.
Thermal comfort is a vitals stat affected by room temperature, clothing, and activity. Fatigue climbs while awake; sleep on a bunk during a Sleep shift (see crew guide roster) restores it if comfort and safety stay acceptable.
| Factor | Effect on sleep | Mitigation |
|---|---|---|
| Thermal comfort | Too hot/cold → poor sleep quality | Heaters/coolers, insulated walls, suitable clothing |
| CO2 level | High CO2 → restless sleep | Scrubbers running overnight on Auto |
| O2 partial pressure | Hypoxia prevents deep sleep | Maintain ≥20 kPa O2 in bunk room |
| Noise / threat moodlets | Stress resists fatigue recovery | Secure doors, decent esteem/social needs |
| Sleep shift length | Full roster cycle matters | Assign Sleep shift before long salvage days |
Roster shifts — Work, Free, Sleep, Untime — gate what AI crew obey. Sleep shifts let characters rest unattended; Work shifts mean they follow orders including repairs. Insomniac traits and high CO2 can still wake crew early — fix atmosphere before blaming the bunk brand.
If thermal comfort fails in the bunk while the bridge reads green, you have a vent routing or compartment split problem. Treat the bunk room sensors as your canary — same logic as the 19.02 kPa O2 bug.
Most life-support deaths are wiring and geometry, not missing gear.
| Mistake | What happens | Prevention |
|---|---|---|
| Pump in Reverse | Hab drains into canister or space | Reverse only for airlock recovery; verify light off |
| Scrubber with full CO2 canister | Scrubber stalls, CO2 climbs | Swap or empty outflow canisters on schedule |
| Shared breaker with workshop | Brownout kills scrubbers mid-EVA | Protected life-support breaker branch |
| Cutting walls without checking atmo | Instant decompression | Isolate compartment or suit up |
| Turbo refill on EVA bottle | Bottle rupture | Slow mode only for suit bottles |
| Room split after editor change | 19.02 kPa O2 cap, false alarms | Manual pump ON or save/reload; align pump + sensor |
Usually reactor load vs cooler capacity, or waste heat bleeding into hab decks — see reactor guide and the heat section above.
Room subdivision after ship edits, or pump/alarm in different compartments. Manual overfill or save/reload; floors under walls are optional for airtightness — check door floors and hull holes.
Standard pump for loan tugs; turbo for large hulls or fast vent/pressurize. Always use Slow mode for EVA bottle refill.
Vent hot compartments, run coolers on stable power, replace damaged tiles, isolate burned sections until sensors normalize.
Slow-mode air pump from O2 canister to suit bottle; never turbo-fill small bottles.
Not strictly — O2 ~20 kPa is enough to breathe. N2 fills to ~100 kPa total and smooths CO2 swings.
Reactor guide for power/load · salvage guide for EVA abort rules · ship building for compartment layout.
August 16, 2026
Matched by build plan, shared topics, and guide progression — not random related links.